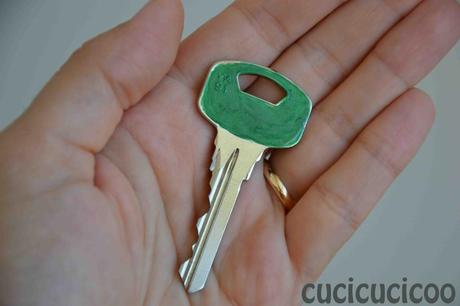
 Do you ever get totally confused when sorting through your keys? They tend to look so similar. Mine are all funny shaped or color-coded so that I can keep them all straight. But recently my little guy bent one of my keys and I went to get another copy made, there were no keys of the right size in green, the color of the discarded key.
Ti capita mai di confonderti completamente quando cerchi fra la tua mazza di chiavi? Hanno la tendenza di essere così simili fra loro. I miei sono tutti di una forma o colore particolare in modo che posso ricordarmi dove usarle. Ma recentemente il mio piccolo mi ha piegato una chiave e quando sono andata a farmela fare una copia, non ce n’erano del tipo giusto in verde, il colore della chiave rovinata.
I knew I’d get horribly confused with any other color seeing as I’d used a green key for that particular door for years. Then I remembered a little trick that I’d seen around online (for example at Alessia Scrap & Craft): paint the key with nail polish.
Sapevo che mi sarei confusa terribilmente con qualunque altro colore visto che erano anni che usavo una chiave verde per quella porta. Poi mi sono ricordata di un piccolo trucco che avevo visto diverse volte online (ad esempio da Alessia Scrap & Craft): colorare la chiave con lo smalto per le unghie.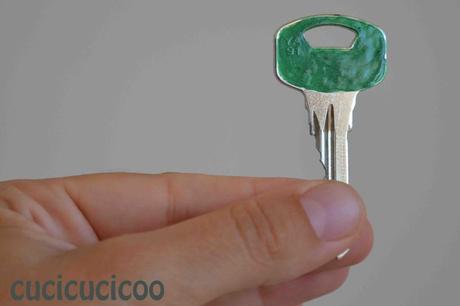
Avevo già il colore giusto quindi mi sono messa a fare tre mani di smalto. Non è perfetto perchè lo smalto comincia ad asciugarsi piuttosto presto quindi dopo che avrai fatto il giro del foro, lo smalto già applicato dall’altra parte comincia a diventare appiccicoso. Immagino che con lo smalto con brillantini come ha usato Alessia si farebbe notare di meno, ma l’unica cosa che mi importa è che non mi confondo più quale chiave usare! (Non è bello quel portachiavi? L’ho comprato in Colombia per qualcuno ma poi non gliel’ho più regalato, quindi l’ho tenuto per me. I pezzi sono di tagua, “l’avorio vegetale”.)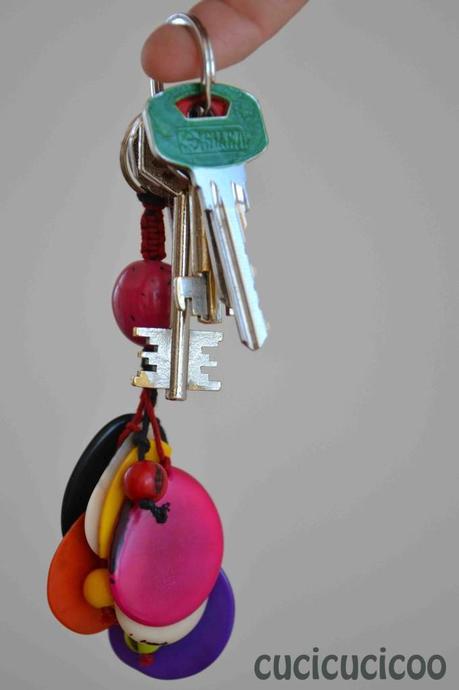
I miei post per le prossime settimane saranno probabilmente progetti piuttosti semplici come questo perché sto lavorando molto sulle cose “dietro le quinte” del blog e tutorial nuovi. Ma ho parecchie cose molto belle da condividere quando saremmo sistemati completamente con il design e i layout!


