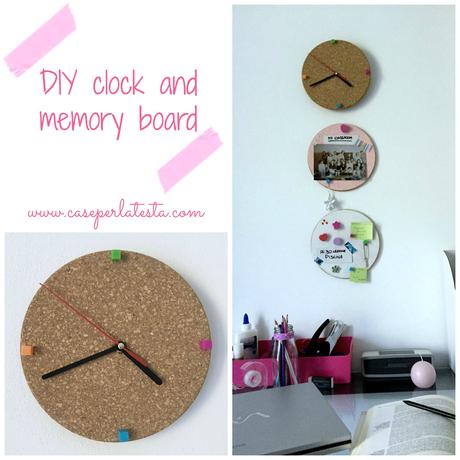
Confesso che era da tempo che volevo sistemare il mio angolo craft; ormai la scrivania era invasa da oggettini da trasformare, utensili e materiale vario per il fai da te, fogli con gli appunti dei nuovi progetti da fare…insomma…un caos unico! E visto che settembre è il mese dei buoni propositi, del riordino, ho deciso di affrontare il disordine e dimostrargli che potevo vincere io! Avevo bisogno di una lavagna su cui appuntare idee, materiali da comprare, cose da ricordare; più che altro, ehm…. avevo delle bellissime puntine colorate da tempo nel cassetto e volevo utilizzarle. Così ho pensato a questo progetto veloce e facile, oltre che low cost, per creare una bacheca in sughero e un orologio per organizzare e completare l’angolo studio, home office, fai da te o per le camerette dei ragazzi.
I admit that from long I wanted to fix my corner craft; now my desk was overrun with small objects, tools and various materials for DIY, sheets with notes for new projects to do … well … a unique chaos! And since September is the month of good intentions and reorganization, I decided to tackle the clutter and show it that I could win! I needed a blackboard on which to write down ideas, materials to buy, things to remember; more than anything else, uh …. I had some beautiful colorful push pins in the drawer for a long time and I wanted to use them. So I prepared this project, quick and easy, as well as cheap, to create a cork memory board and a clock to organize and complete my working area, home office, craft rooms or for children‘s bedrooms.
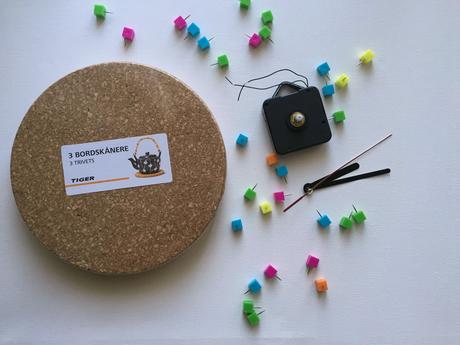
Cosa serve:
- pannello o sottopentola in sughero – io ho preso questo set tondo da Tiger ;
- meccanismo per orologio;
- colori acrilici – nel caso in cui vogliate personalizzare i colori della bacheca per adattarli al colore della vostra stanza;
- puntine;
- una matita e un metro.
What do you need:
- panel or trivet cork – mine is the round set from Tiger;
- mechanism for clock;
- acrylics – in case you want to customize the colors of the board to suit the color of your room;
- pins;
- a pencil and a meter
Come fare per realizzare l’orologio:
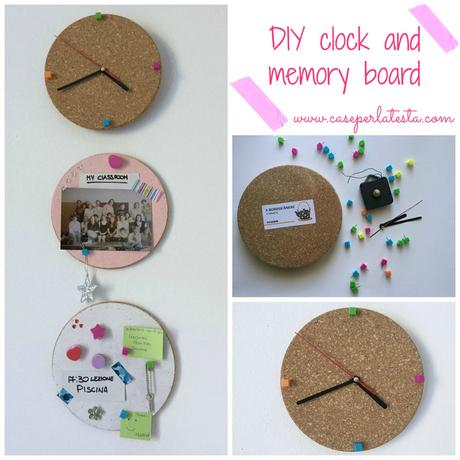
Prendete un sottopentola e segnate il centro con una matita; controllare, prima di forare il sughero in tale punto, la grandezza del perno dell’orologio per vedere se può andare bene la matita, come nel mio caso, o se necessitate di un oggetto, ad esempio un cacciavite, di un diametro minore. Una volta effettuato il foro, inserite il meccanismo per l’orologio e fissatelo avvitando il dado che tiene le lancette. A questo punto l’orologio è finto! Ora dovete solo decorarlo secondo la vostra fantasia: potete segnare le ore con le puntine colorate come ho fatto io, o segnarle con il washi tape, oppure con del cartoncino colorato sagomato a forma di freccia, o pallino, o stella. Le personalizzazioni sono pressochè infinite: per esempio se l’orologio sarà per la cameretta del vostro bimbo potete incollare con la pistola a caldo dei Lego per segnare le ore, oppure delle piccole macchinine o sorpresine delle merende.
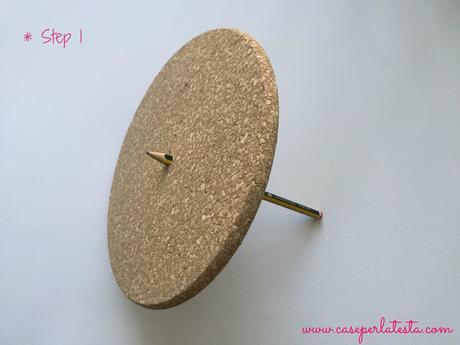
How to realize the clock:
Take a trivet and mark the center with a pencil; check, before drilling the cork on that point, the mesure of the pin clock to see if it can fit the pencil, as in my case, or if you need an object, such as a screwdriver, of a smaller diameter. Once the hole is done, place the mechanism for the clock and secure tightening the nut that holds the hands. At this point the clock is done! Now you just have to decorate it according to your fantasy: you can mark the hours with colorful push pins as I did, or mark them with washi tape, or with the colored cardboard arrow-shaped, or dots, or stars. Customizations are almost endless: for example if the watch will be for your baby’s nursery, you can paste with heat gun some Lego pieces to mark the hours, or small cars or snacks surprises
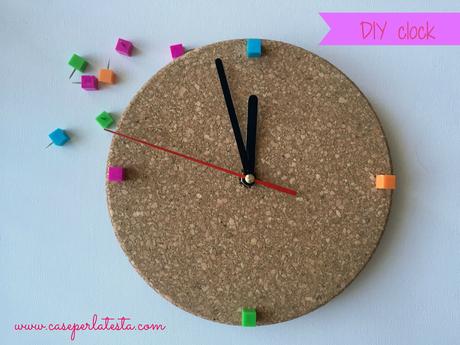
E questo è il risultato finale, ci vogliono circa 10 minuti per realizzarlo! And this is the end result, it takes about 10 minutes to make it!
Come fare per realizzare la bacheca in sughero:
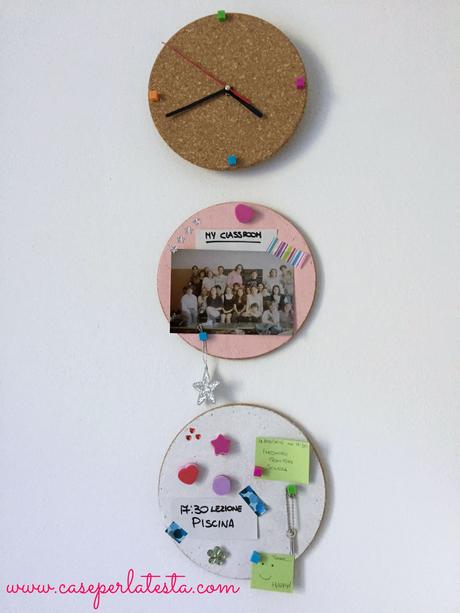
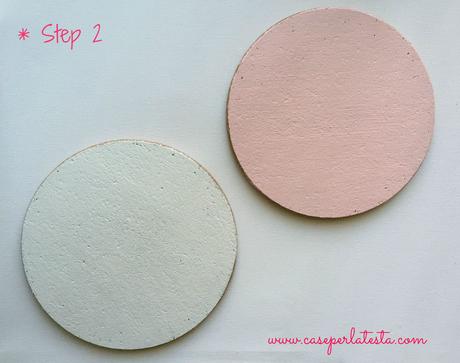
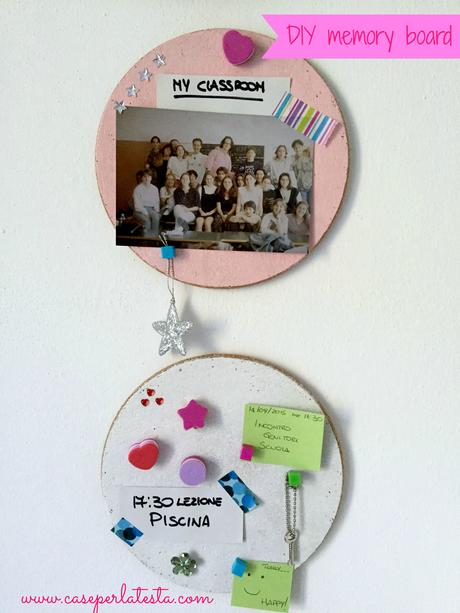
Io ho voluto cambiare il colore con la pittura acrilica perchè mi piaceva che la bacheca potesse diventare anche un decoro murale; ho quindi usato il colore bianco e il rosa tenue.
How to realize the cork memory board:
I wanted to change the color with acrylic paint because I liked that the board could also become a wall decor; I then used the white and pale pink colors.
Quando il colore si sarà asciugato dovrete solo liberare la fantasia per arricchire la vostra memory board! Con questa bacheca in sughero avrete sempre sott’occhio gli appuntamenti, gli orari delle lezioni della scuola, le foto ricordo, quello che più vi piace; io, ad esempio, visto che questo pregetto mi pareva molto adatto per l’inizio delle lezioni a scuola o all’università, ho usato un pannello per vedere una vecchia foto della mia classe del liceo…vabbè…non è poi troppo vecchia come foto! 
When the paint has dried you just have to free the imagination to enrich your memory board! With this cork board you will always have an eye on appointments, class schedules of the school, as the photos, what you like; for example, as this project seemed very suitable for the beginning of school or college, I used a panel to hang an old photo of my class in high school … oh well … not really so old! ;)
E voi? Come personalizzereste il vostro orologio e la vostra bacheca? And you? How you will customize your watch and your memory board?
