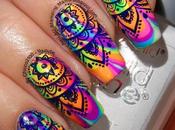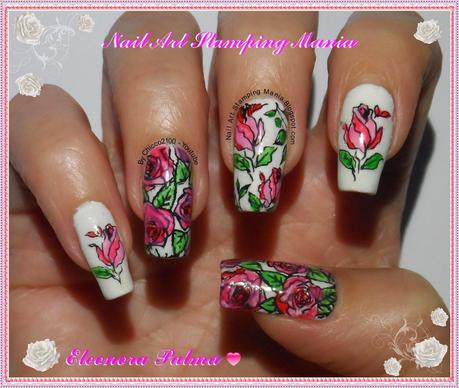

Hi everyone! Today I wish to speak to you about a new nail art technique called LeadLight. This technique allows you to paint directly on your image stamped on your nails. Contrarily to the stamping decal technique where you paint with nail polishes or acrylics paints, here you must use gelly polishes. These type of polishes, infact, don't cover the details of the image which is below and gives a pleasent watercolor effect.
In case you have some problem to paint on the right hand (left hand for me *__*) you can choose to make some decals on a plastic sachet or directly on your stamp. Then you paint them and after they have dried you apply them on your nails (in this case you don't need to reverse the decal as you do with Stamping Decal).
I made a video tutorial for better explain all this in which I show also how make gelly polishes using any type of nail polishes.
For the nail art of the photo, I used as a base a white polish (with this technique is better to use white or pastel polishes as base ). I stamped with CiCi&SiSi plates 2, 3 and 11 and Konad black. I painted using Kiko 288, 238, 391 and Essence 101 Absolute Pure (clear polish) with a brush but you can use also a dotter. Finally, as top coat, I applied Essence Quick Dry and then Essence Gel Look.

Ciao a tutti! Oggi vorrei parlarvi di una nuova tecnica di nail art chiamata LeadLight . Questa tecnica permette di disegnare direttamente sulla vostro disegno stampato sulle unghie . Contrariamente alla tecnica Stamping Decal in cui si dipinge con smalti o colori acrilici , qui è necessario utilizzare smalti gelly . Questo tipo di smalti , infatti , non coprono i dettagli dell'immagine che è al di sotto e dona un piacevole effetto acquerello.
Nel caso abbiate qualche problema a dipingere sulla mano destra ( mano sinistra per me * __ * ), si può scegliere di fare alcune decals su una bustina di plastica o direttamente sul timbro. Poi le dipingete e dopo che si sono asciugate le applicate sulle unghie ( in questo caso non è necessario invertire le decals come si fa con lo Stamping Decal).
Ho fatto un video tutorial per spiegare meglio tutto ciò, in cui mostro anche come fare smalti gelly utilizzando qualsiasi tipo di smalti .
Per la nail art della foto, ho usato come base uno smalto bianco ( con questa tecnica è meglio utilizzare smalti bianchi o pastello come base) . Ho timbrato con le piastre CiCi & SiSi 2, 3 e 11 e Konad nero . Ho dipinto con Kiko 238 , 288 e 391, 391 ed Essence 101 Absolute Pure (smalto trasparente) con un pennello ma è possibile utilizzare anche un dotter . Infine, come top coat , ho applicato Essence Quick Dry e poi Essence Gel Look.
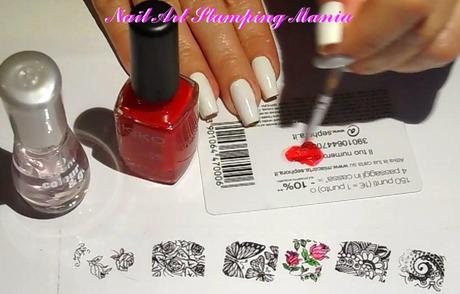
 To create gelly nail polishes with any type of polish you can mix a drop of the colour that you prefer and add one or more drops of clear polish....
 Per creare smalti Gelly con qualsiasi tipo di smalto si può mescolare una goccia del colore che si preferisce e aggiungere una o più gocce di smalto trasparente ....
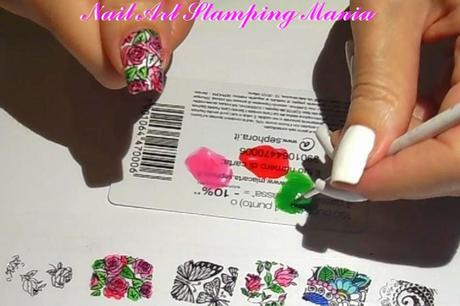
 After having stamped on my nails I applied one coat of top coat and after that it dried I painted directly on it.
 Dopo aver stampato sulle mie unghie ho applicato una mano di top coat e dopo che si è asciugato ho dipinto direttamente su di esse .
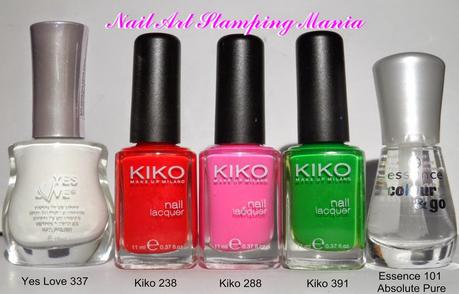 Yes Love 337, Kiko: 238, 288, 391 and Essence 101 Absolute Pure
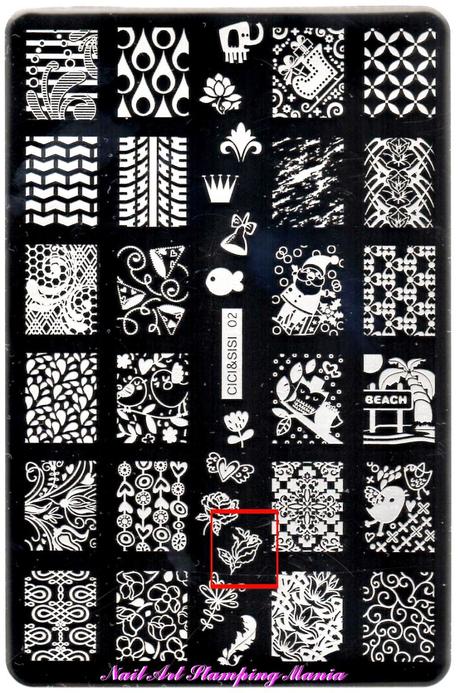
CiCi&SiSi 02
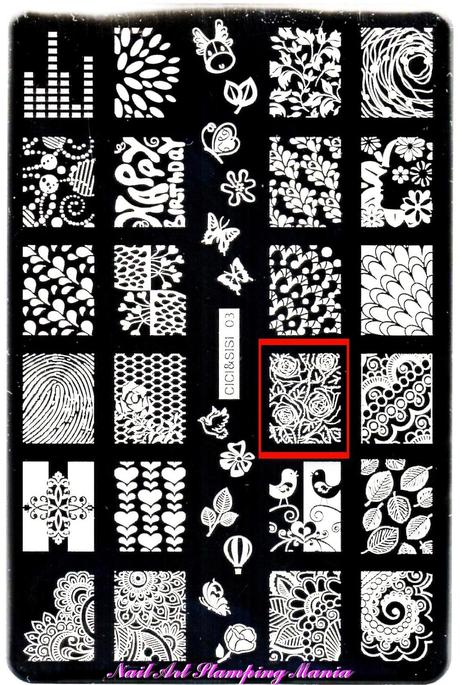 CiCi&SiSi 03
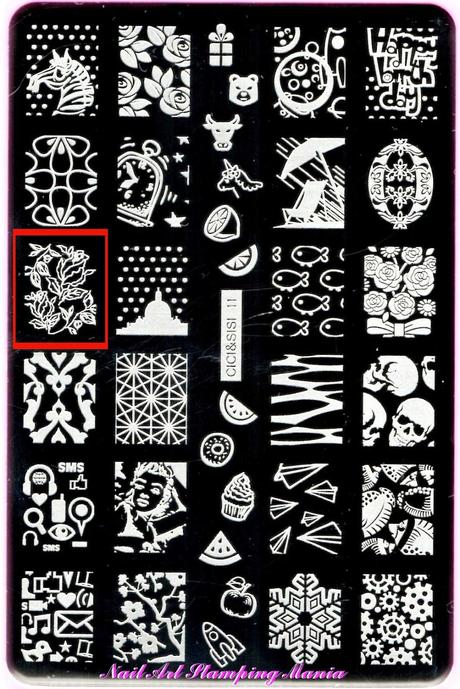 CiCi&SiSi 11
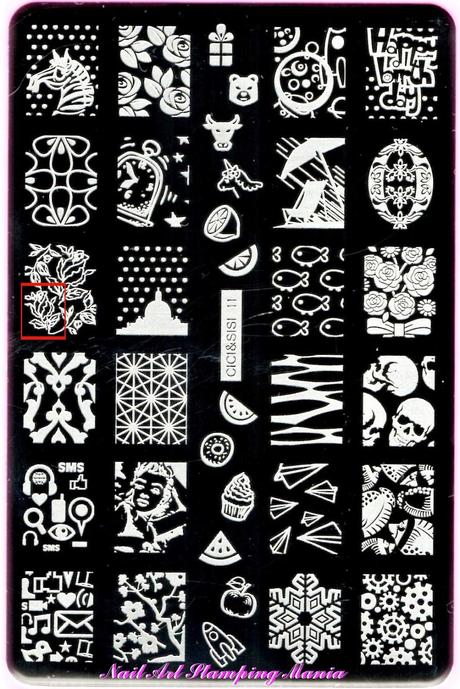 CiCi&SiSi 11
 Here is my video tutorial:
 Ecco il mio video tutorial:
 What I used:
 Cosa ho Usato:
- Base: Yes Love 337
- Polishes for LeadLight: Kiko: 238, 288, 391 mixed with Essence 101 Absolute Pure (clear polish)
- Stamping Plate: CiCi&SiSi 02, 03 and 11
- Stamping Special Polish: Konad black
- Top coat: Essence Quick Dry and then Essence Gel Look
Have a nice week-end! :)
